

Spooling a Toyota truck with an 8-inch, 30-spline axle refers to the process of installing a spool differential, which essentially locks both rear wheels together for maximum traction. Here’s a step-by-step guide on how to spool a Toyota truck with an 8-inch, 30-spline axle:
Tools and Materials Needed:
- Spool differential
- Jack and jack stands
- Lug wrench
- Socket and ratchet set
- Torque wrench
- Differential oil and gasket (if needed)
Procedure:
- Safety First:
- Ensure the vehicle is parked on a level surface and set the parking brake.
- Use jack stands to securely support the rear of the vehicle after lifting it with a jack.
- Remove Wheels:
- Using a lug wrench, remove the lug nuts and take off the rear wheels.
- Drain Differential Fluid (if needed):
- Place a drain pan under the differential, remove the drain plug, and allow the fluid to drain out.
- Access the Differential:
- Locate the rear differential cover. It’s the large, usually metal, housing at the rear axle.
- Remove Differential Cover:
- Use a socket and ratchet to remove the bolts securing the differential cover. Gently pry it off to expose the internals.
- Clean and Inspect:
- Clean out any debris or old gasket material from the differential housing. Inspect the ring gear, pinion, and other components for any signs of wear or damage.
- Remove Spider Gears:
- Locate the spider gears inside the differential. Remove them carefully. This will leave an open carrier.
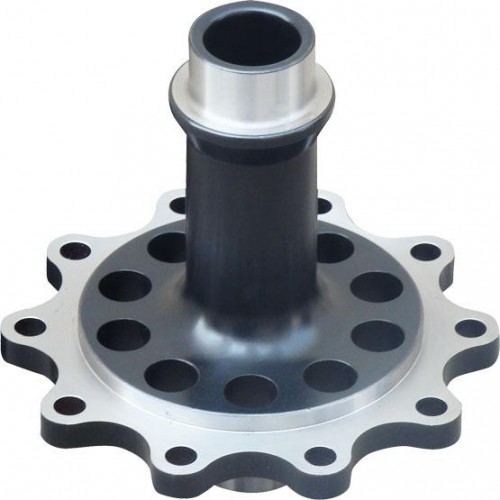
- Install the Spool:
- Slide the spool differential into the open carrier. Ensure it aligns with the splines on the axle shafts.
- Reassembly:
- If a gasket is needed, apply a thin layer of gasket maker to create a seal. Reattach the differential cover and tighten the bolts evenly.
- Fill with Differential Fluid (if needed):
- If you drained the fluid, now is the time to refill it. Use the recommended type and quantity for your specific Toyota model.
- Torque Specifications:
- Use a torque wrench to tighten the differential cover bolts to the manufacturer’s specifications.
- Reinstall Wheels:
- Place the wheels back onto the wheel hub and tighten the lug nuts in a criss-cross pattern.
- Lower the Vehicle:
- Carefully remove the jack stands and lower the vehicle to the ground using the jack.
- Test Drive:
- Take the vehicle for a test drive in a safe, open area to ensure the spool is functioning properly.
Note: Installing a spool differential means that both rear wheels will always spin together, even during turns. This can affect on-road handling and is primarily recommended for off-road or track use.
Remember to consult your vehicle’s manual and follow manufacturer specifications throughout the process. If you’re not comfortable with this level of mechanical work, consider seeking assistance from a professional mechanic.