


A rear axle bearing puller is a tool used to remove the bearings from the rear axle of a vehicle, such as a Toyota. This tool is essential for performing maintenance or repairs on the rear axle assembly.
Here’s how a rear axle bearing puller typically works:
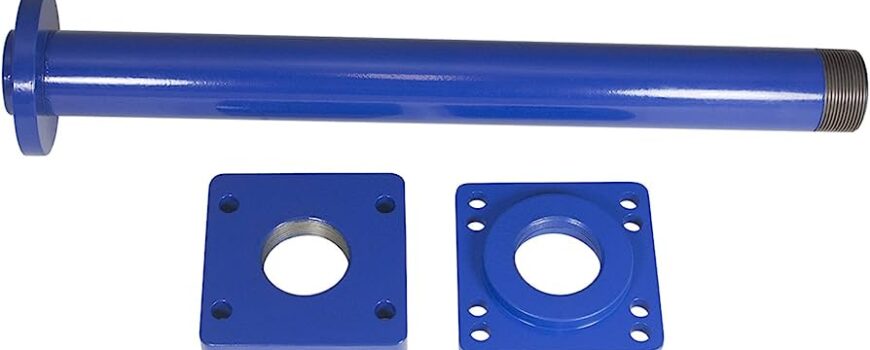
- Components: The puller consists of several parts:
- Main body: This is the central part of the tool, usually made of sturdy metal, with a threaded hole in the center.
- Bolts or arms: These are attached to the main body and have specialized ends designed to grip onto the bearing. They can be adjusted to fit different sizes of bearings.
- Threaded rod: This rod goes through the center of the main body and is used to apply force to pull the bearing off the axle.
- Preparation: Ensure that the vehicle is safely supported and the rear axle is accessible. Remove any obstructions or parts that may hinder access to the rear axle bearing.
- Positioning: The puller is placed over the axle shaft with the arms or bolts positioned around the bearing to be removed.
- Adjustment: The bolts or arms are adjusted so that they securely grip onto the outer ring of the bearing. This ensures a firm hold during the removal process.
- Threaded Rod: The threaded rod is inserted through the center of the puller and screwed into the axle shaft or a threaded hole if available. This rod serves as the force point.
- Application of Force: By turning the threaded rod, force is applied through the center of the bearing puller. This force is directed towards the bearing, creating a pulling action.
- Bearing Removal: As the force is applied, it gradually overcomes the friction holding the bearing in place. The bearing starts to move along the axle shaft, eventually coming off.
- Inspecting and Replacing: Once the bearing is removed, it should be inspected for any signs of wear or damage. If necessary, it should be replaced with a new one.
- Reassembly: If the bearing is being replaced, the new bearing is installed using appropriate tools and techniques. If not, the existing bearing is reinstalled.
- Cleanup and Testing: The area around the axle and the tools used should be cleaned to remove any debris or contaminants. After reassembly, it’s important to test the rear axle to ensure everything is functioning properly.
Remember, using the correct tools and following manufacturer guidelines and safety procedures is crucial when working on any vehicle. If you’re not comfortable or experienced with this type of repair, it’s recommended to seek assistance from a qualified mechanic or professional automotive service.